Volumizing Hair Iron At A Glance
A volumizing hair iron is a root-lifting hot tool designed to create hidden texture and added volume near the scalp.
• Styling Purpose: Creates texture at the roots to boost hair volume
• Best Use: Commonly used for fuller hairstyles and special occasions
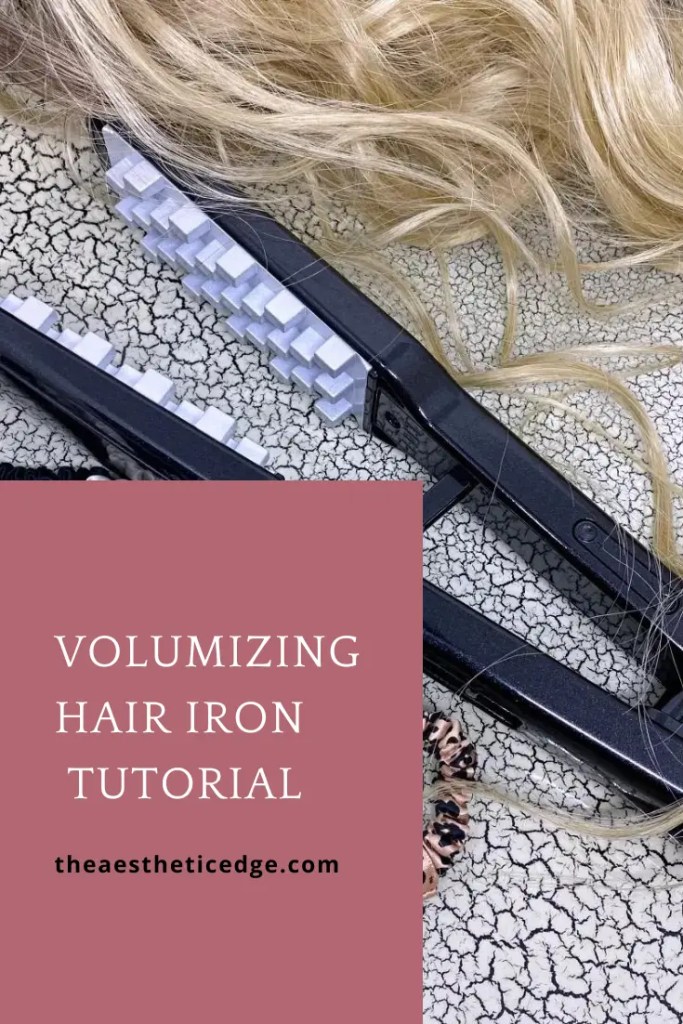
• Design: Features crimper-style plates similar to a mini waffle iron
• Alternatives: Similar effects can be achieved with slim crimping tools
As someone with fine, thin hair, volume is simply not for me. You might be familiar with the Voloom Hair Volumizing Iron. There are plenty of knock-offs floating around, and mine is the True Beauty Volume Boost Root Iron. In this article I will test the volumizing hair iron to see if the concept works, plus provide a tutorial.
Tutorial
To give you some details, it has a swivel cord, sliding lock button, and + and – buttons to control the temperature. I used it on 350. Here are the recommended heat settings:
- 320-350 for fine or damaged hair
- 350-370 for normal hair
- 370-390 for thick coarse hair


Step 1: Prepping Your Hair
Start with clean, dry hair. Apply your favorite heat protectant spray to your hair, brush it through, and let it dry. Make sure that your hair is tangle free and parted the way you want it to lay.
Step 2: Section Your Hair
Using sectioning clips or hair ties, section off the top layer of your hair. This will help us to hide the wavy hair roots.


Step 3: Adjusting the Temperature
As noted in the above explanation, this iron comes with adjustable temperature settings, catering to different hair types. Fine hair may require a lower heat setting, while thicker or coarser hair might benefit from a higher temperature. Experiment to find the temperature that works best for your unique hair type. Starting low and working up to higher heat helps to minimize damage.
Step 4: Using the Iron
Take a small section of hair and place it between the beveled plates, starting close to the roots. The section itself should be closer to the middle of the head, and you definitely do not want to grab any hairs that frame the face. Again, this helps to hide the textured pieces.
Gently close the volumizing crimper, then immediately release. This tool should NOT be held in place. You should practice clamp and move. Release the clamp and move down the section, repeating the process until you go as far down as you like. I did three clamps.


Step 5: Repeat, Blend, & Style
Continue the process, working through as many under layers as you wish. I did a total of three under layers on each side of my head, as well as the back. The goal is to create overall lift and volume without leaving any noticeable lines or gaps. Feel free to style your hair once finished!
I find that using a hot tool definitely helps my limp hair to get some volume. Perhaps the picture does not do it justice, but it is definitely noticeable to me in real life. The texture stays until I wash my hair!
The volumizing hair iron works well, and it is fast and easy to use. I feel safe using it without heat protectant gloves. However, I do not think it will be a daily thing in your routine. I think it is best reserved for special hairstyles, such as an updo. For this tutorial, I used it on my hair that I styled with my heatless curling rod headband.


Amanda’s Review: ★★★
Frequently Asked Questions
What is the Voloom Volumizing Hair Iron and how does it work?
It’s a heat tool with patented waffle‑pattern ceramic plates that create “volume pockets” at the roots when lightly clamped. These tiny bends support top layers of hair to deliver long-lasting volume without teasing, sprays, or gels.
Does it really add lasting volume?
Yes. Users report visible volume that lasts a few days, with many saying their hair stays lifted and looks fuller even without washing.
Is it easy to use?
Most find it easy once learned. You work on under-layers only—just part top sections, clamp for 1–2 seconds—then release. It takes minutes and includes styling clips and a teasing comb.
Are there downsides or limitations?
There’s a learning curve. If you clamp too deeply or part too high, the crimped pattern can show through the top layer. Fine, short hair can be trickier to volumize. Overall value is debated due to price.
Is it better than traditional crimping irons?
Yes. Voloom plates are beveled and designed to keep the volume hidden under the top layer. Reddit users and reviews say traditional crimpers don’t provide the same lift or natural-looking volume.
Is it worth the price?
Generally yes—users call it “life-changing,” especially those with fine or flat hair. It reduces visible grease, lets you go days between washes, and gives salon-level lift at home.
To minimize damage, I recommend using this technique once in a while for special occasions. With my fine, thin hair, I do see a boost in real life that may not translate well in photos. You may be able to get a similar result with a skinny, traditional crimper. A classic teasing brush will also get the job done at a lower cost. How often do you tease your hair? Until next time, continue to let your true beauty shine.