
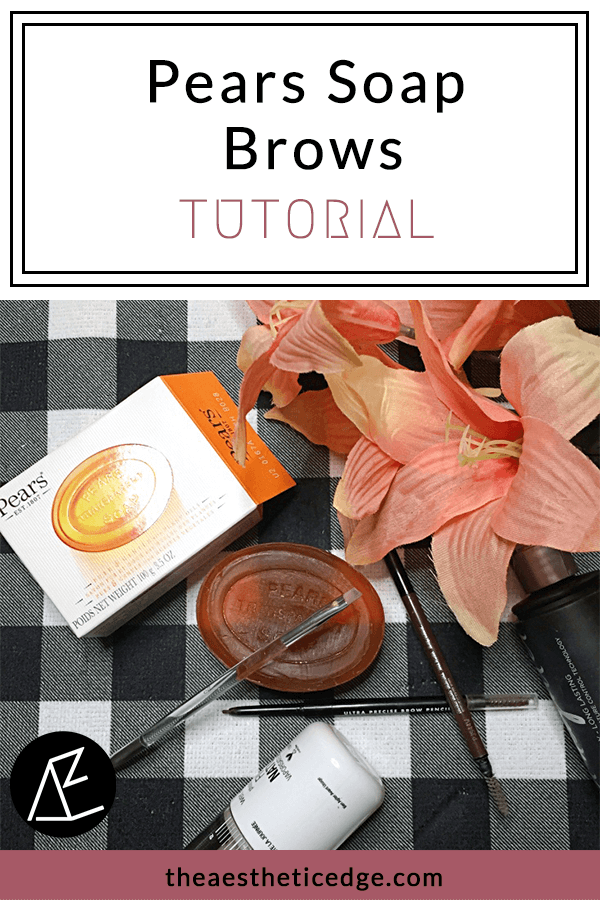
Pears Soap Brows At A Glance
Pears soap brows are an affordable technique for creating lifted, fluffy brows with a laminated appearance.
• Supplies Needed: Requires only Pears soap, water, and a spoolie brush
• Budget-Friendly: Pears soap bars are inexpensive and widely available
• Hold & Performance: Helps keep brow hairs lifted and in place throughout the day
• Finished Look: Creates the appearance of fuller, brushed-up, laminated-style brows
I must say, I am liking this soap brows routine so much that I want to do a tutorial for you all. In this tutorial I will share the products that I use, why I use them, and take you step-by-step.
Before
It is important to have a reference point before we get into the tutorial. Here is one of my eyebrows in its natural state with no makeup or products.

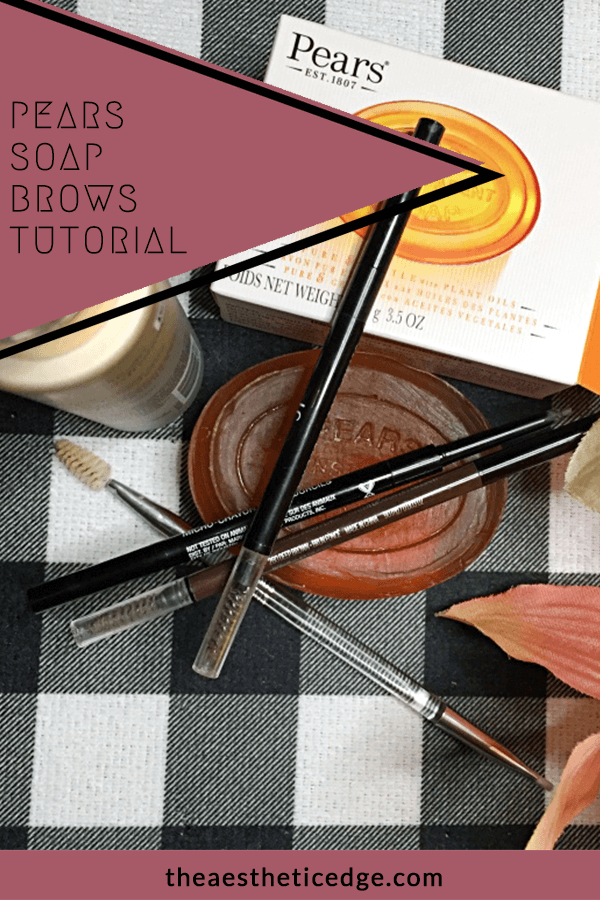
Materials Needed
We need to talk about soap! The internet says the Pears brand is the best. When it comes down to it, you can use any soap that you want, as long as it is transparent. If you use a bar of soap that is not transparent, your brows will most likely get tinted by the soap. If white or pink brows are your thing, then I will not judge!
There are benefits to using the Pears brand, however. For starters, it smells lovely and clean. Also, it is beyond affordable. Every Dollar Tree that I shop in is fully stocked with single bars for $1.25. Or, you can go the Amazon route to grab your soap.
At this point you may be wondering, why would someone put soap in their brows? Well, it eliminates the need to use brow gels or mascaras to hold your hairs in place all day. Imagine how much money a bar of soap will save you, and you probably will never use it up! I find that the soap tames my unruly brows better than real brow products.
Soap also makes the brows look fuller, thicker, and more 3D, yet natural and not harsh and blocky.

You will be applying the soap to your brows with a spoolie, and the key is finding one that is rather dense. I have many spoolies in my collection, as they are commonly found in makeup brush sets. After going through each one, my pick is elf’s Precision Dual-Sided Eyebrow Brush. The spoolie end is perfectly stiff for picking up the soap, and the angled end is a fabulous bonus! As we will talk about later, filling the brows with hair like strokes works the best with this routine, and the size of the angled end is perfect.

Step By Step Tutorial
Wet the Soap
The first step in this Pears soap brows routine is to wet the bar of soap. I spray mine with two to three spritzes of setting spray. You can also spray your soap with water, or wet the spoolie.
Now, take the spoolie and press it into the soap while rotating it. We want to coat the spoolie all over with soap while applying enough pressure that we are getting the soap into the fibers.

Brush the Brows Upwards
We are now ready to apply the soap to the brows. Use the soap covered spoolie to brush the brow hairs upwards so that they stick up as straight as possible. I also rotate the spoolie as I brush up to take advantage of all of the sides. Your brows are going to look pretty crazy after doing this.

Smooth and Shape
Next, we will restore a more normal shape to the brows. Take the spoolie and drag it across the top of the brows to restore your natural looking arch. At this point if you like to apply your favorite concealer to clean up the edges you definitely can. That is not a step I actually do. You can already see the that the brows look more voluminous. I also take my finger and gently pat the lashes down.

Fill the Brows
It is time to fill our brows. You get the best results when you use a product that provides hair like strokes. I prefer to use a micro brow pencil, but you can use any brow product of your choosing. For a powder, pomade, etc., I will apply it with the angled brush end of the spoolie tool.
Most makeup brands that carry brow products, both high-end and drugstore, offer a micro brow pencil. You can use your favorite.
No matter what product you use, go ahead and fill your brows until you are satisfied. At this point I may use the spoolie that comes with the brow pencil to help distribute the product, but not always.

The Finished Brows – After
We have officially finished the routine! As you can see, there is a noticeable difference with my bare brows in comparison to my finished brows. Soap brows are natural and look like your own brows, just perfected. You never have to worry about having big, blocky, scary brows, or hairs going out of place. I like having a few hairs that look groomed back but spikey.


Frequently Asked Questions
What is the Pears soap brow technique?
The Pears soap brow technique uses a bar of Pears transparent soap and a spoolie to style and set the brows in place for a lifted, laminated look that lasts all day without a brow gel.
How do you use Pears soap for brows?
Dampen a spoolie brush slightly, rub it across the surface of the Pears soap to pick up product, then brush your brows upward and outward. Shape them as desired and let the soap dry in place.
Is Pears soap safe to use on eyebrows?
Yes, Pears is generally considered safe for brows thanks to its gentle, glycerin-based formula. However, avoid contact with the eyes and patch test if you have sensitive skin.
Simply by switching from brow gel to soap you will save so much money. I also love how easy soap brows are to work with. You really do not need any special skills or practice time. Needless to say, I am happy with my decision to try out soap brows, and it is my new favorite weapon. Are you willing to try the soap brows trend? Until next time, continue to let your true beauty shine.
Discover More Makeup Routines & Tutorials:
| Lazy Makeup Routine | Natural Bronzed Makeup Look | Glowy No Makeup Makeup Look | Work From Home Makeup Routine |
| Powder Foundation Makeup Routine | Skinimalism Makeup Routine | Face Mask Makeup |


7 Responses
The soap trick works so well! I have no idea why I haven’t learned about this technique like years ago! Haha. Better late than never though. Have a beautiful day!
I wish I would have tried it a long time ago. Same to you!
I’ve never tried it but omg they look amazing! I don’t know if pears soap is available her though
I know people *say* Pears is the best, but I figure you will get the same result with any brand of soap. The key is using a transparent soap.
It is such a great technique!
Danielle xx
https://www.thereluctantblogger.co.uk/
I love how easy it is to do and you don’t need 25 different tools or products lol
This is my first time hearing about this method. I have tried it and the result is amazing